Overview
The Connect Wizard provides a guided, step-by-step process for creating new integrations between Fentu FSM and external systems. Instead of configuring each component separately, the wizard walks you through all the necessary steps in one flow.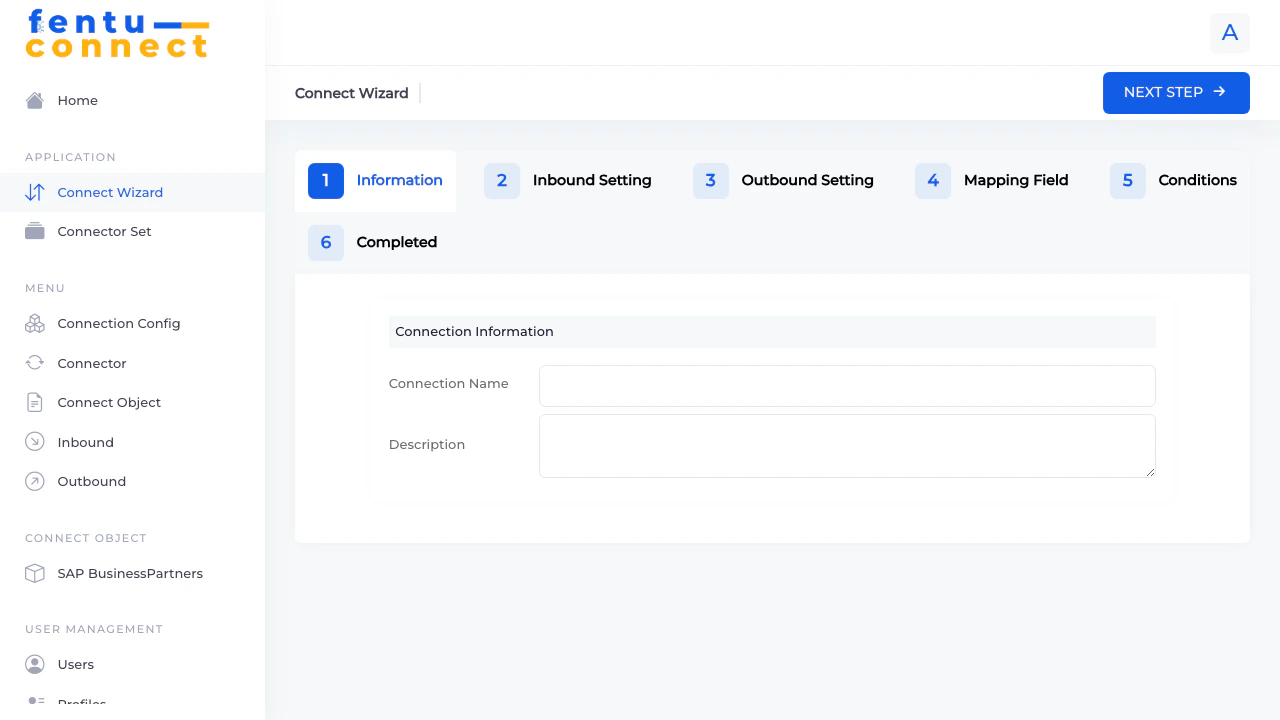
The 6-Step Process
Step 1: Information
| Field | Description |
|---|---|
| Connection Name | A unique, descriptive name for this integration (e.g., “SAP Customer Sync”, “Salesforce Lead Import”) |
| Description | Optional notes explaining the purpose of this connection or any special configuration details |
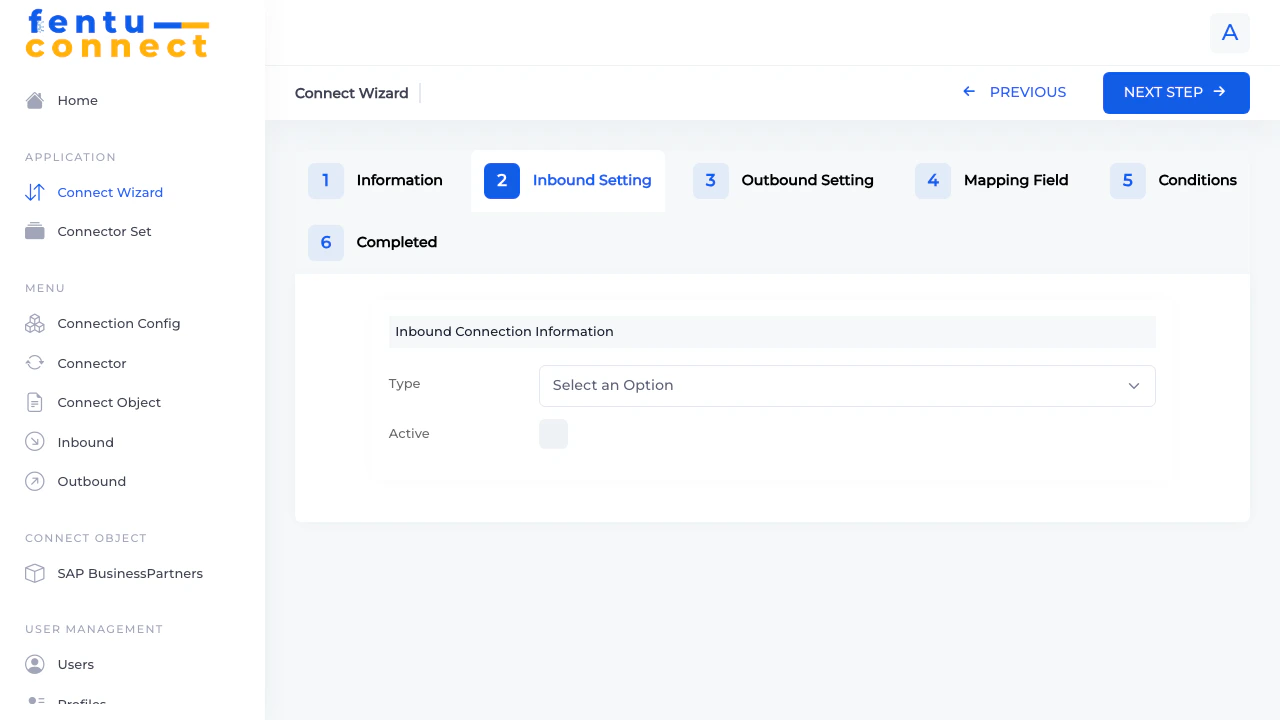
Step 2: Inbound Setting
| Field | Description |
|---|---|
| Type | Select the integration type from the dropdown |
| Active | Checkbox to enable/disable this inbound connection |
Available Integration Types
SAP B1
SAP Business One ERP system
Fentu-FSM
Another Fentu FSM instance
Salesforce
Salesforce CRM
Acumatica
Acumatica Cloud ERP
Shopware
Shopware e-commerce
ABAS-ERP
ABAS ERP system
HRlab
HR management system
Window Maker
Window manufacturing software
Internal Connect
Internal system connections
Jsonblob Shopware
Shopware via JSON blob
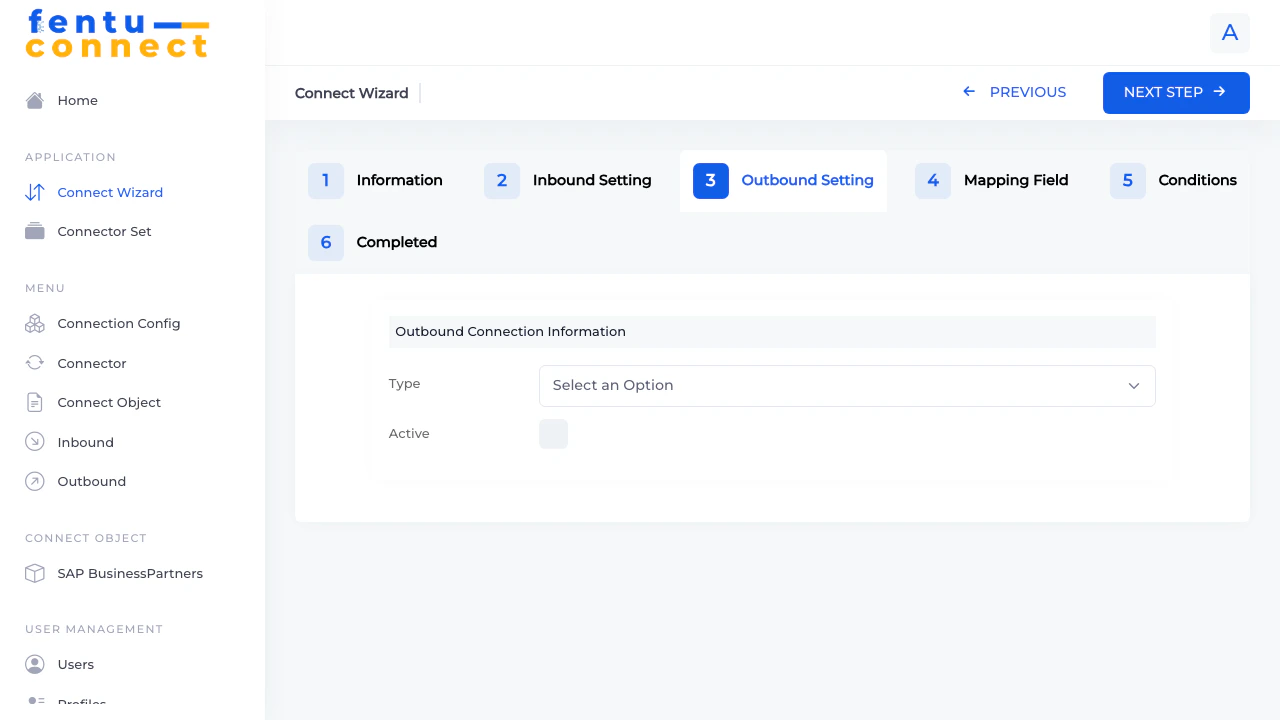
Step 3: Outbound Setting
| Field | Description |
|---|---|
| Type | Select the integration type from the dropdown (same options as Inbound) |
| Active | Checkbox to enable/disable this outbound connection |
You can configure just an inbound connection, just an outbound connection, or both depending on your integration requirements.
Step 4: Mapping Field
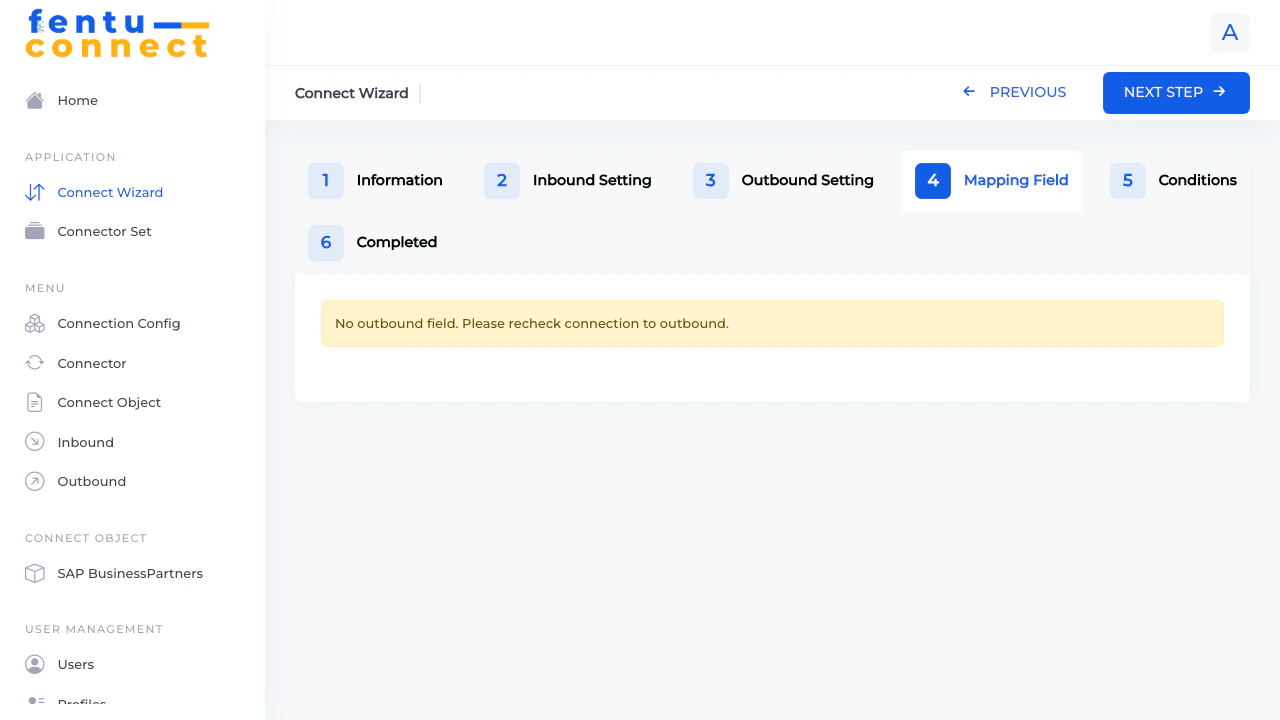
For detailed information about field mapping including formula syntax, see the Field Mapping Guide and Formula Reference.
Step 5: Conditions
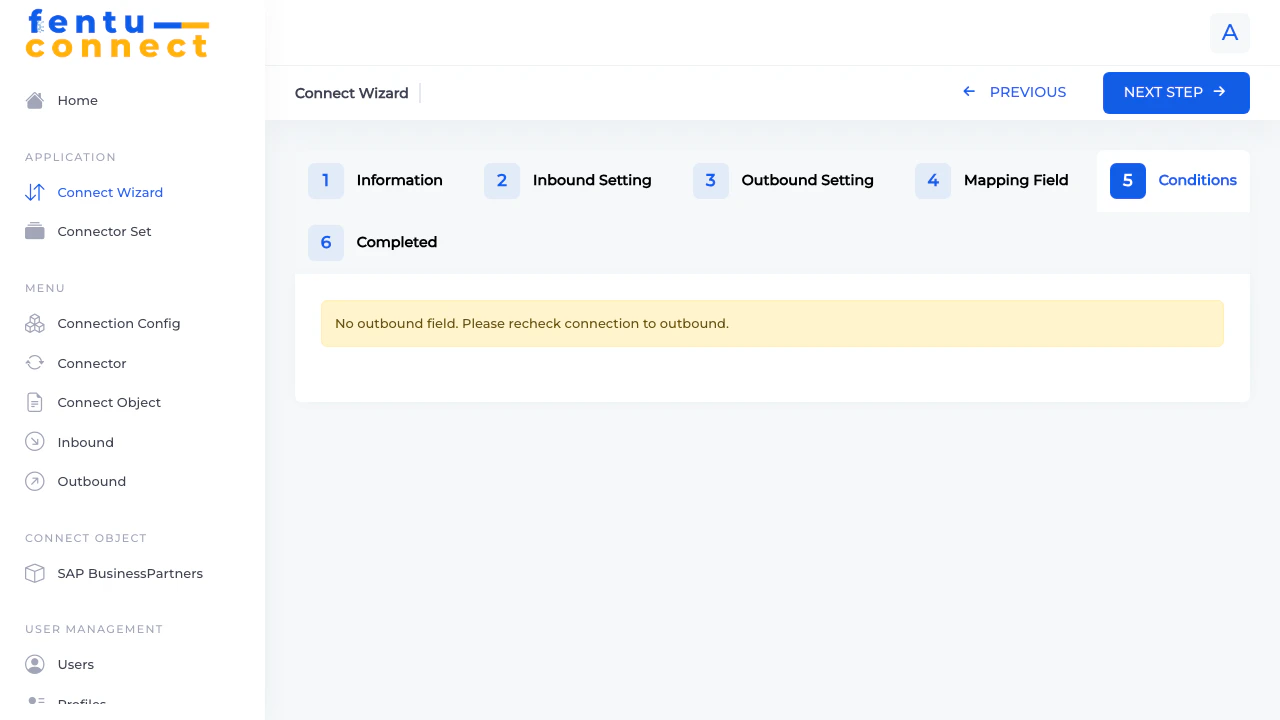
Step 6: Completed
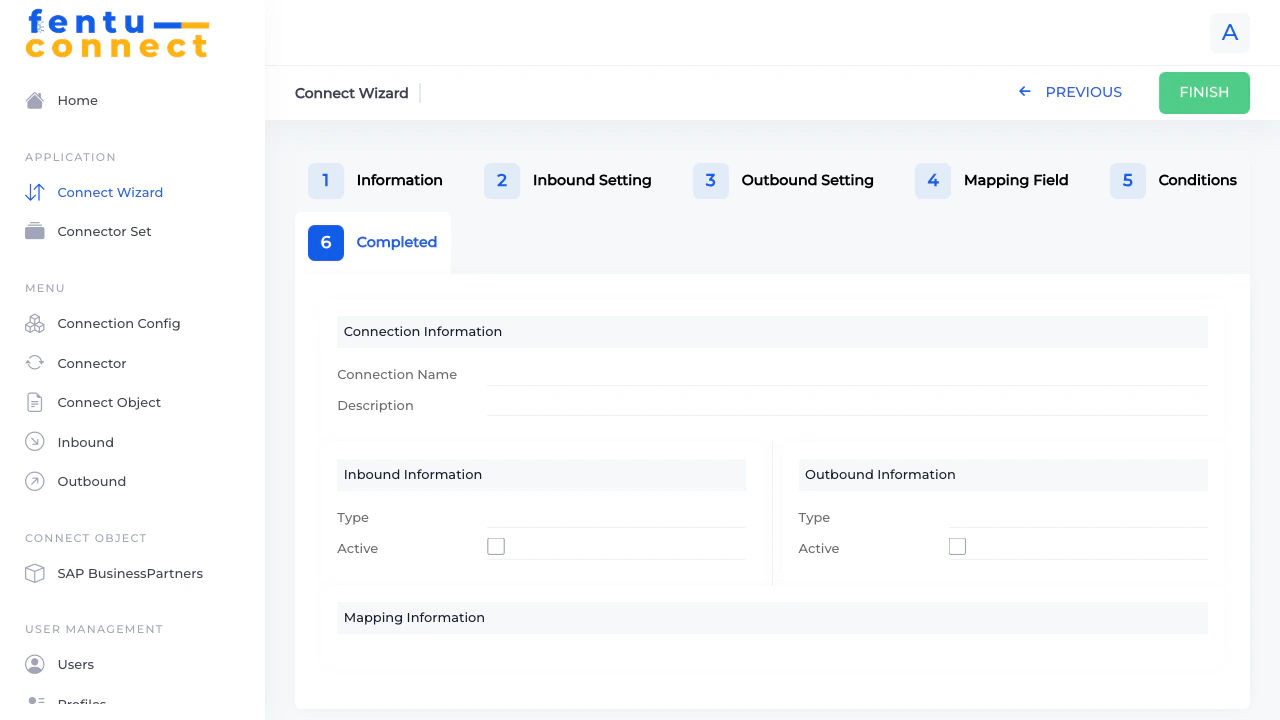
- A new Connector with your specified settings
- Inbound connection (if configured)
- Outbound connection (if configured)
- Field mappings
Tips and Best Practices
Start with Inbound First
Start with Inbound First
When setting up bidirectional sync, it’s often best to configure and test the inbound connection first. This allows you to verify data is being received correctly before configuring outbound data push.
Test Before Activating
Test Before Activating
Leave connections inactive initially. Use the test features to verify your configuration before enabling live data synchronization.
Use Descriptive Names
Use Descriptive Names
Name your connections clearly to indicate the system, direction, and data type. For example: “SAP B1 - Inbound - Customers” or “SFDC - Outbound - Work Orders”
Document Your Mappings
Document Your Mappings
Use the description field to document any special mapping logic or business rules applied to this connection.
Common Questions
Can I create a connection with only inbound or only outbound?
Can I create a connection with only inbound or only outbound?
Yes, you can configure just one direction. Simply leave the other direction’s type as “Select an Option” and don’t activate it.
What happens if I click Finish without filling everything?
What happens if I click Finish without filling everything?
The wizard will create a connection with whatever settings you’ve provided. You can edit the connection later to complete the configuration.
Can I edit a wizard-created connection later?
Can I edit a wizard-created connection later?
Yes, all connections created through the wizard can be edited individually through the Connector, Inbound, or Outbound menu items.
How do I delete a wizard-created connection?
How do I delete a wizard-created connection?
Navigate to the Connector page, find your connection, and use the Delete button. Note that this may also affect related inbound/outbound configurations.
Related Documentation
Connection Config
Configure connection credentials before using the wizard
Connect Objects
Define the data structures for your integrations
Inbound Connections
Detailed guide for inbound data configuration
Outbound Connections
Detailed guide for outbound data configuration