Overview
Connectors are the core integration units in Fentu Connect. Each connector defines a complete integration including the connection name, inbound/outbound settings, field mappings, and sync conditions.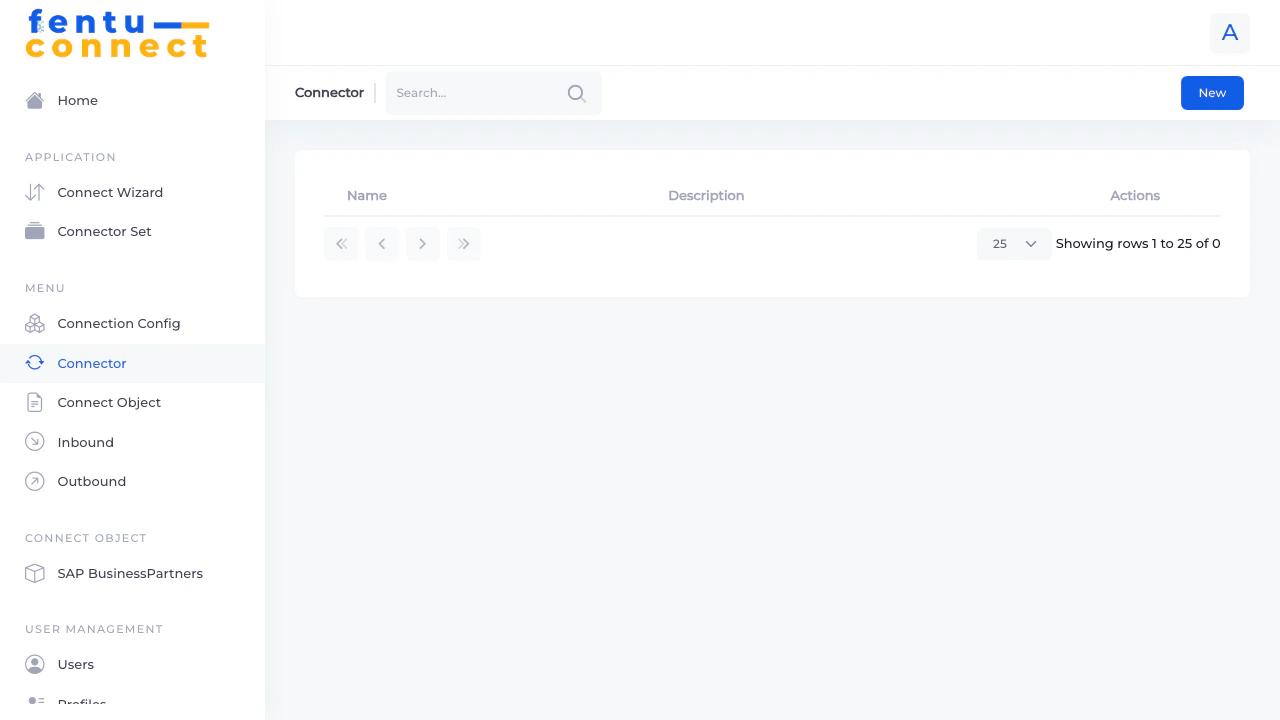
Connector List
The Connector list displays all configured connectors with search and pagination features:- Search - Filter connectors by name
- New Button - Create a new connector using the wizard interface
- Pagination - Navigate through multiple pages
- Items per Page - Choose 5, 10, 25, 50, or 100 items per page
Creating a Connector
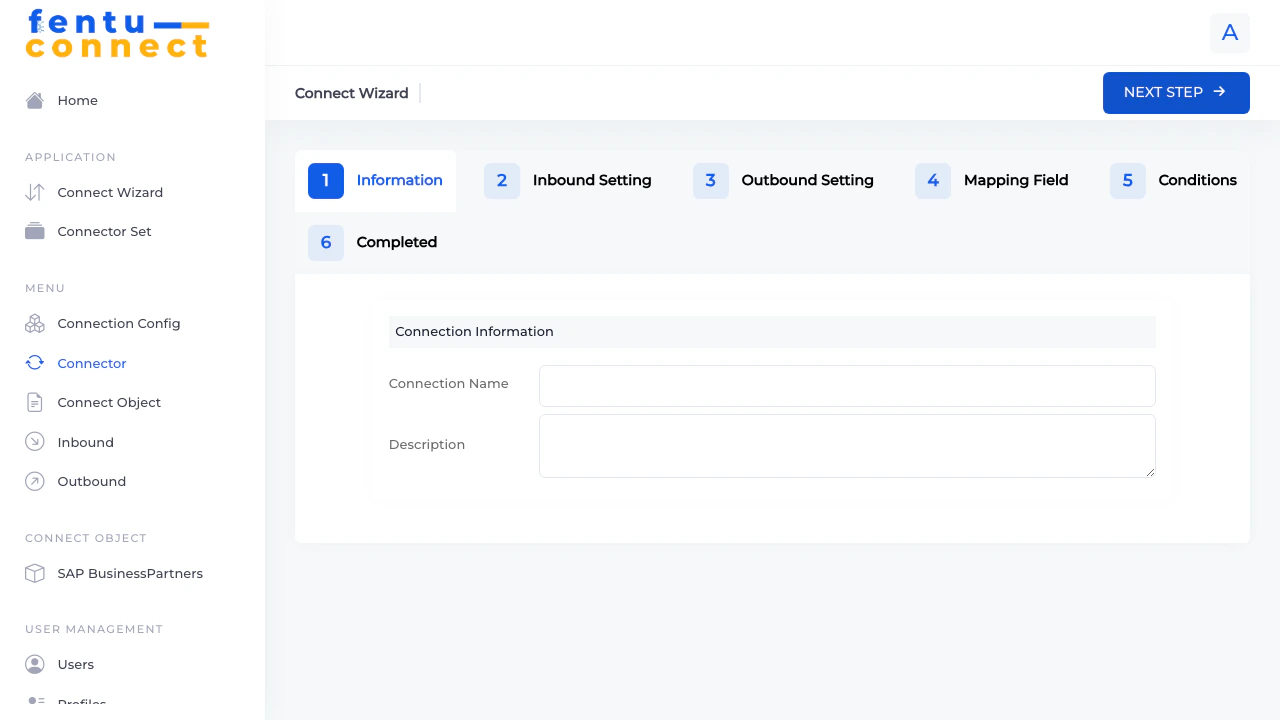
Step 1: Information
| Field | Description | Required |
|---|---|---|
| Connection Name | A unique identifier for this connector | Yes |
| Description | Notes about the connector’s purpose | No |
Step 2: Inbound Setting
| Field | Description |
|---|---|
| Type | The external system type for inbound data |
| Active | Enable/disable inbound synchronization |
Step 3: Outbound Setting
| Field | Description |
|---|---|
| Type | The external system type for outbound data |
| Active | Enable/disable outbound synchronization |
Step 4: Mapping Field
Configure how data maps between the source and destination systems. For each field, you can choose:- Field - Direct field-to-field mapping
- Raw Data - Static value
- Formula - Calculated value using formula syntax
Step 5: Conditions
Set conditions that determine when data should be synchronized. Conditions act as filters to control which records are included in the sync.Step 6: Completed
Review your configuration and click Finish to create the connector.Editing a Connector
To edit an existing connector:- Navigate to the specific connector from the list (if link available)
- Or edit through the related Inbound/Outbound connection pages
Changes to a connector may affect live integrations. Consider deactivating the connection before making significant changes.
Connector vs Connect Wizard
The Connector page and Connect Wizard use the same interface, but serve different entry points:| Feature | Connector | Connect Wizard |
|---|---|---|
| Access Point | From Connector menu | From Connect Wizard menu |
| Purpose | Full connector management | Quick new setup |
| Interface | Same 6-step wizard | Same 6-step wizard |
| Result | Creates connector + connections | Creates connector + connections |
Both methods create the same artifacts. Use whichever entry point is most convenient for your workflow.
Best Practices
One Connector Per Data Flow
One Connector Per Data Flow
Create separate connectors for each logical data flow rather than combining multiple data types in one connector. This makes troubleshooting easier and allows independent activation/deactivation.
Test Before Activating
Test Before Activating
Leave both inbound and outbound connections inactive while configuring field mappings. Test with sample data before enabling live synchronization.
Document Thoroughly
Document Thoroughly
Use the description field to document:
- Business purpose of the integration
- Data transformation rules
- Dependencies on other connectors
- Contact person for questions
Version Control Important Changes
Version Control Important Changes
Before making changes to production connectors, export or document the current configuration so you can revert if needed.
Common Patterns
One-Way Inbound Sync
One-Way Inbound Sync
Use case: Pull master data from ERP into Fentu FSMConfiguration:
- Inbound: Configured and Active
- Outbound: Not configured
One-Way Outbound Sync
One-Way Outbound Sync
Use case: Push completed work data to external systemsConfiguration:
- Inbound: Not configured
- Outbound: Configured and Active
Bidirectional Sync
Bidirectional Sync
Use case: Keep data synchronized in both directionsConfiguration:
- Inbound: Configured and Active
- Outbound: Configured and Active
Related Documentation
Connect Wizard
Alternative entry point for creating connectors
Connector Set
Group related connectors together
Inbound Connections
Detailed inbound configuration guide
Outbound Connections
Detailed outbound configuration guide