Overview
The Work Order Wizard is used to create execution-ready Work Orders or convert existing Requests or Quotes into Work Orders. It combines service intake context, optional commercial reference, and full execution setup in a single guided process. Unlike the Request Wizard, a Work Order created here is immediately ready for dispatch and field execution.When to Use the Work Order Wizard
Use this wizard when:- A Request has been qualified and is ready for execution
- A Quote has been approved and work can begin
- You want to create a Work Order directly without a Request step
- Emergency or urgent work must be dispatched immediately
- Scheduled or contract-based maintenance must be executed
- A Request needs to be converted into operational work
Execution
Information already filled on the Service Request or Quote will be auto filled on the Work Order Wizard.Step 1: Customer Information
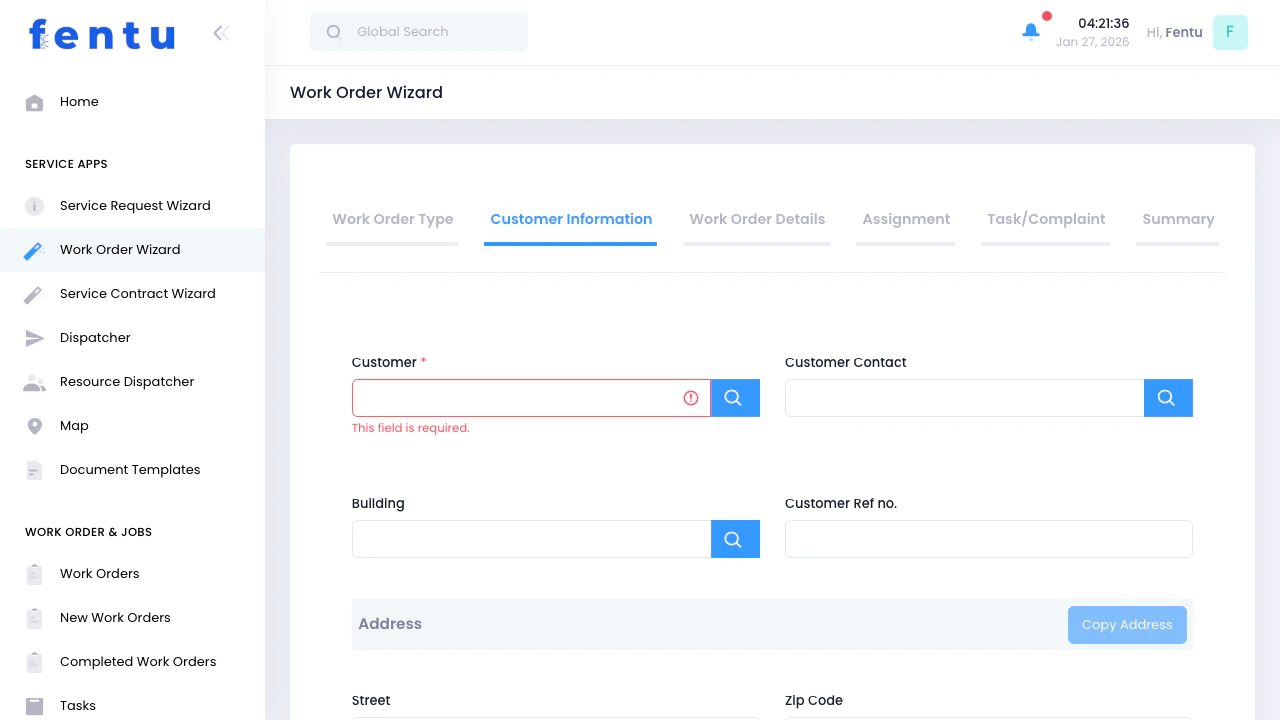
Customer Information
| Field | Description |
|---|---|
| Customer | Search and select the customer for this work order |
| Contact | Select the primary contact person at the customer location |
| Location | Choose the specific location where work will be performed |
Address Information
The system auto-populates address fields based on the selected building:- Street address - Physical location of the work site
- City - City or municipality
- State/Province - State or provincial information
- ZIP/Postal code - Postal code for the location
Branch Assignment
| Field | Description |
|---|---|
| Branch | Select which company branch is responsible for this work order. This determines resource availability and reporting. |
The branch is typically pre-selected based on your user account, but can be changed if you manage multiple branches.
Copy Address Feature
Click “Copy Address” to duplicate the building address to other address fields if needed for delivery or billing purposes.Step 2: Work Order Details

Work Order Information
| Field | Description |
|---|---|
| Work Order Name | A descriptive name for quick identification |
| Description | Detailed description of the work to be performed |
| Priority | Set priority level: High (urgent), Medium (standard), or Low (routine) |
| Special Information | Any special notes, customer requirements, or important instructions |
Scheduling
| Field | Description |
|---|---|
| Planned Date | When the work should start |
| Planned End Date | Expected completion date/time |
| Is Fixed Date | Check if this date cannot be changed (customer requirement) |
| Is Fixed Price | Check if this is a fixed-price work order (from quotation) |
Assets Selection
This is where you select which equipment or assets will be serviced:Additional Options
Products
Products
Add products if this is an installation or delivery work order. Products are different from assets - they represent new equipment to be installed or delivered.
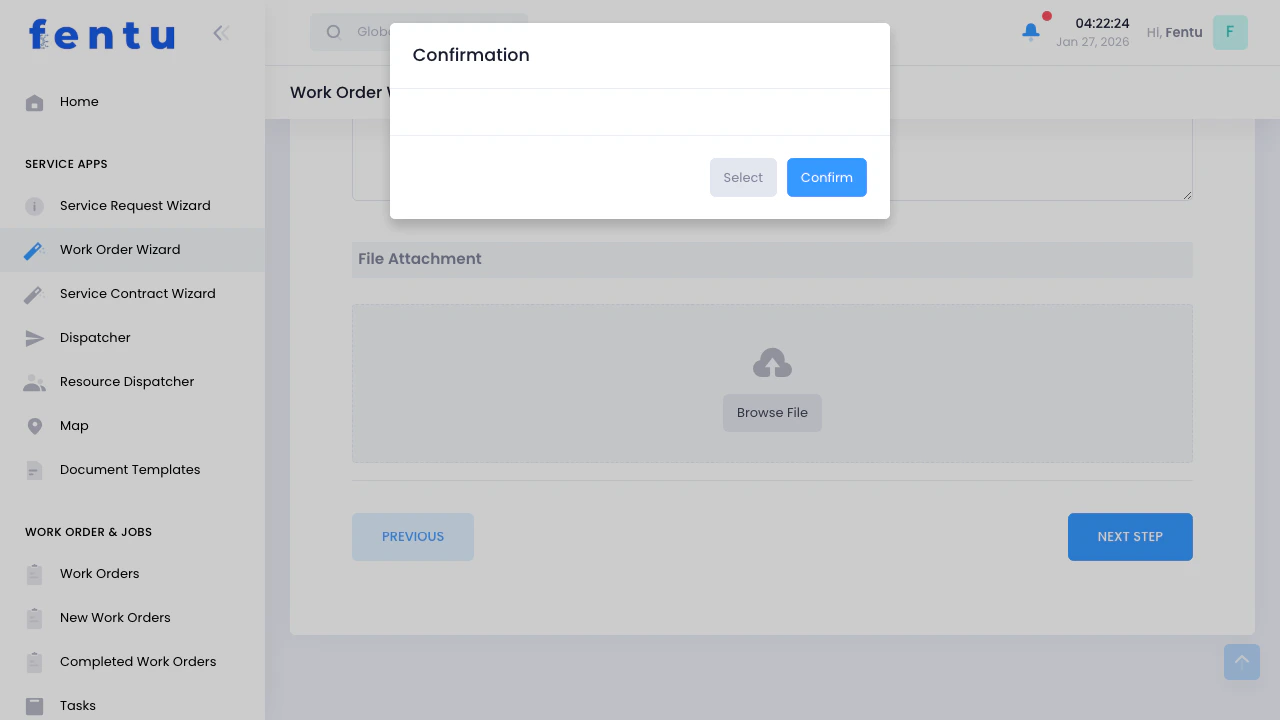
Files & Attachments
Files & Attachments
Attach documents, photos, schematics, customer emails, or any relevant files. These will be available to technicians in the field.
Service Contract Link
Service Contract Link
Link this work order to an existing service contract if applicable. This will apply contract terms, pricing, and SLAs.
Step 3: Assignment
Equipment & Materials
Tools
Tools
Specify which tools are required for this work order. This helps with tool allocation and ensures technicians have what they need.
Vehicles
Vehicles
Assign company vehicles needed for transportation or mobile service units. The system checks vehicle availability.
Parts
Parts
Pre-assign parts that are known to be needed. This helps with parts availability checking and material requests.
Notification Options
When you assign resources, they automatically receive notifications via:
- Email notification
- In-app notification
- Mobile app push notification (if using mobile app)
Step 4: Task/Complaint
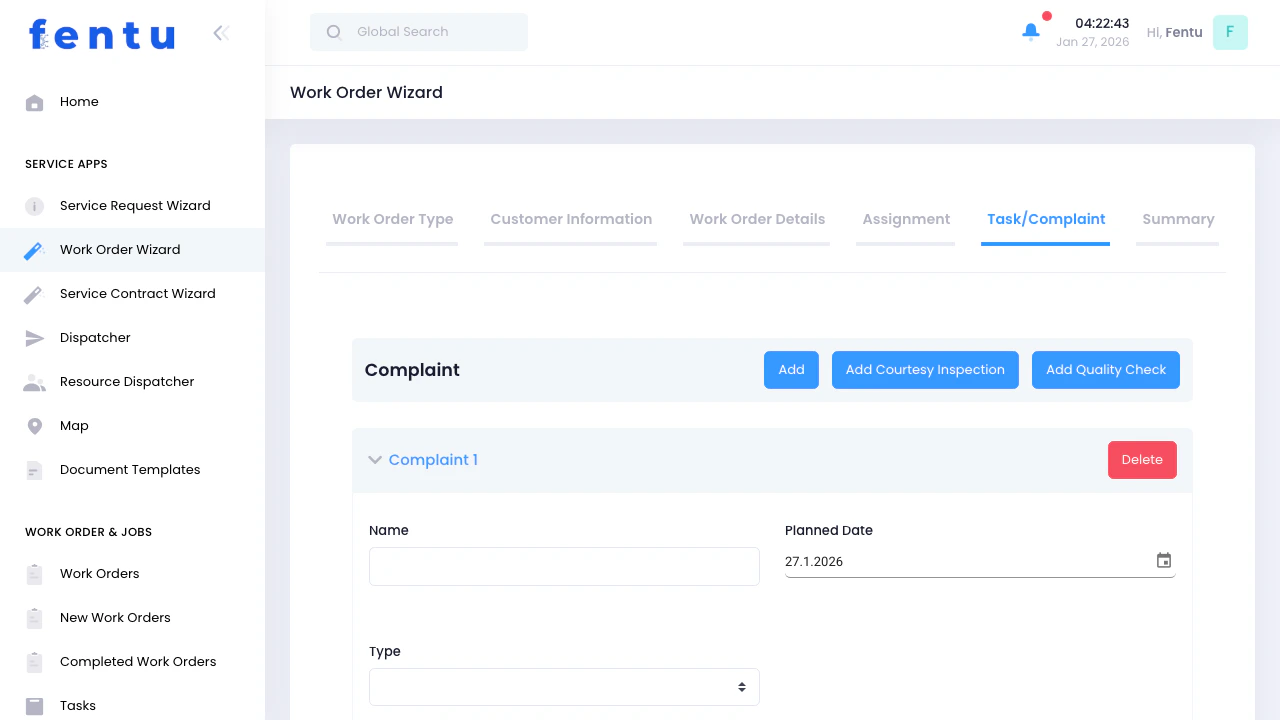
Understanding Tasks
Tasks are the individual work items that technicians will complete. Each task can have:- Its own schedule
- Assigned technicians (subset of work order resources)
- Line items (specific assets being serviced)
- Checklists
- Parts and materials
- Time tracking
Adding Tasks
Click “Add Task” to create task records:| Field | Description |
|---|---|
| Task Name | Brief name for the task (e.g., “Annual Inspection”, “Replace Filter”) |
| Description | Detailed description of what needs to be done |
| Priority | Task-specific priority (can differ from work order priority) |
| Planned Date | When this specific task should be performed |
| Status | Initial status (typically “Open” or “Assigned”) |
Task Line Items
For each task, you can add Line Items which represent specific service object being serviced:Select Service Objects
Choose which service object(s) this task is for (from work order service objects)
Multiple tasks can exist within a single work order. This allows you to organize complex jobs with different service requirements.
Step 5: Summary
Summary Sections
The summary page displays:Work Order Details
Work Order Details
- Work order type and priority
- Customer and location
- Scheduled dates
- Branch assignment
Service Object
Service Object
- List of all service objects to be serviced
- IDs and serial numbers
- Current status
Assignments
Assignments
- Assigned technicians and teams
- Required tools and vehicles
- Pre-assigned parts
Tasks & Complaints
Tasks & Complaints
- All tasks with their details
- Task line items and checklists
- Complaints to be addressed
Attachments
Attachments
- All uploaded files and documents
Actions Available
Previous
Go back to edit any step - all information is preserved
Submit
Create the work order and send notifications
After Submission
Once you click “Submit”, the work order is created:Work Order ID Format
Work orders are automatically numbered based on their type: The format is:{Type}-{Year}-{Sequential Number}
Next Steps After Creation
After creating a work order, you can:View in Dispatcher
See the work order on the dispatch board for scheduling and management
Manage Tasks
Monitor task progress and technician updates
Review Material Request
Request additional parts from the warehouse
Tips and Best Practices
Prepare Customer Information First
Prepare Customer Information First
Ensure customers, contacts, buildings, and assets are set up in the system before starting the wizard. This makes work order creation much faster.
Use Service Contracts When Possible
Use Service Contracts When Possible
Link work orders to service contracts to automatically apply terms, pricing, and SLAs. This ensures consistency and reduces errors.
Be Specific with Task Descriptions
Be Specific with Task Descriptions
Clear, detailed task descriptions help technicians prepare properly and reduce callbacks. Include reference numbers, part codes, or specific procedures.
Assign Based on Skills
Assign Based on Skills
Check asset requirements and assign technicians with matching skills. The system can help suggest qualified resources.
Attach Reference Documents
Attach Reference Documents
Include schematics, manuals, previous service reports, or customer emails. Technicians can access these in the field.
Communicate Special Requirements
Communicate Special Requirements
Use the “Special Information” field for important details like site access instructions, safety requirements, or customer preferences.
Set Realistic Dates
Set Realistic Dates
Consider technician availability, travel time, and work complexity when setting planned dates. Check the Dispatcher view before committing to dates.
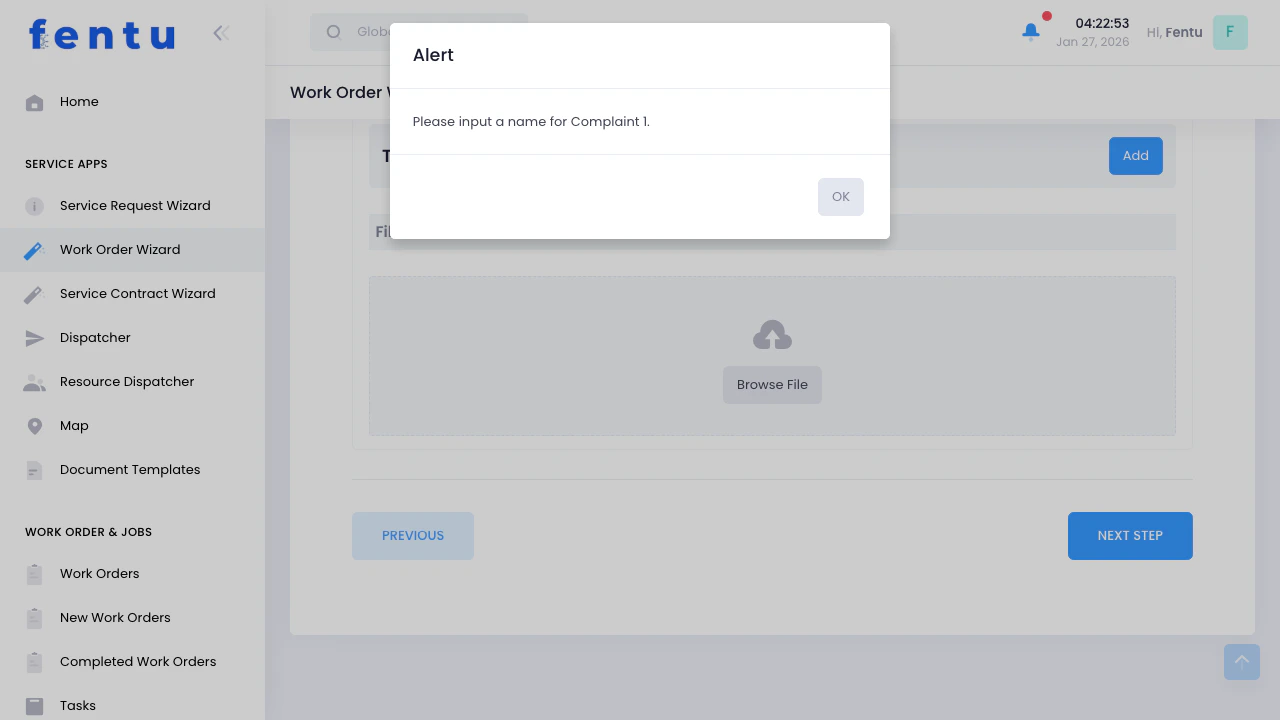
Review Before Submitting
Review Before Submitting
The summary step is your last chance to catch errors. Review all sections carefully before clicking Submit.
Common Questions
What's the difference between a Work Order and a Service Request?
What's the difference between a Work Order and a Service Request?
A Work Order is a confirmed job ready for execution. A Service Request is a preliminary record that captures customer needs but requires conversion to a work order before work can begin. Use the Work Order Wizard when you’re ready to dispatch immediately.
Can I edit a work order after creation?
Can I edit a work order after creation?
Yes! Navigate to the Work Orders list, find your work order, and click to edit. You can modify most fields, reassign resources, add tasks, or update details before work begins.
Do I have to assign resources immediately?
Do I have to assign resources immediately?
No, you can create a work order without assignments and assign resources later via the Dispatcher. However, assigning during creation sends immediate notifications and reserves technician time.
Can I assign multiple technicians to one task?
Can I assign multiple technicians to one task?
Yes! Tasks support multiple resource assignments. This is useful for complex jobs requiring different specialties or when work requires a team.
What happens if a technician rejects the assignment?
What happens if a technician rejects the assignment?
You’ll receive a notification, and the task status updates to show the rejection. You can then reassign to a different technician or discuss scheduling with the original assignee.
Can I create recurring work orders?
Can I create recurring work orders?
Recurring work orders are best created via Service Contracts with scheduled maintenance. The contract automatically generates work order drafts that can be converted.
How do I handle emergency work orders?
How do I handle emergency work orders?
Set priority to “High”, mark as “Fixed Date” if time-critical, and assign available technicians immediately. You can also use fast-track workflows if configured.
Related Documentation
Service Request Wizard
Create service requests that can be converted to work orders later
Dispatcher
Schedule and manage work orders and tasks
Work Order Statuses
Understand the work order lifecycle and status changes
Task Management
Learn how to manage and track tasks within work orders